nuffnang code

Showing posts with label eye make up. Show all posts

Thursday, October 25, 2012

Blue and Pink: Barbie-inspired Makeup

Hi girls! Hope you're all enjoying the long weekend. I did this Barbie doll look after a reader sent in her request, and I must say that doing this look was a lot of fun! I got to play with color, contour, and of course, the best part- false lashes and hair extensions! It would have been a lot better if I wore a blonde wig and blue contacts, but I don't have a wig and I can't wear contacts so please settle for my interpretation of a dark haired and dark-eyed Barbie instead :)


What You Need:

  • Full coverage foundation
  • Concealer
  • Eyeshadows (matte pale blue shadow, shimmery pale blue shadow, matte hot pink shadow, pale pink shimmer shadow)
  • Eye primer
  • White eyeliner
  • Highlighter (I used a white cream-based product)
  • Matte contour powder
  • Black mascara
  • False eyelashes
  • Eyebrow powder/gel

1. To achieve Barbie-perfect skin, use full coverage foundation all over the face and cover all imperfections with concealer.

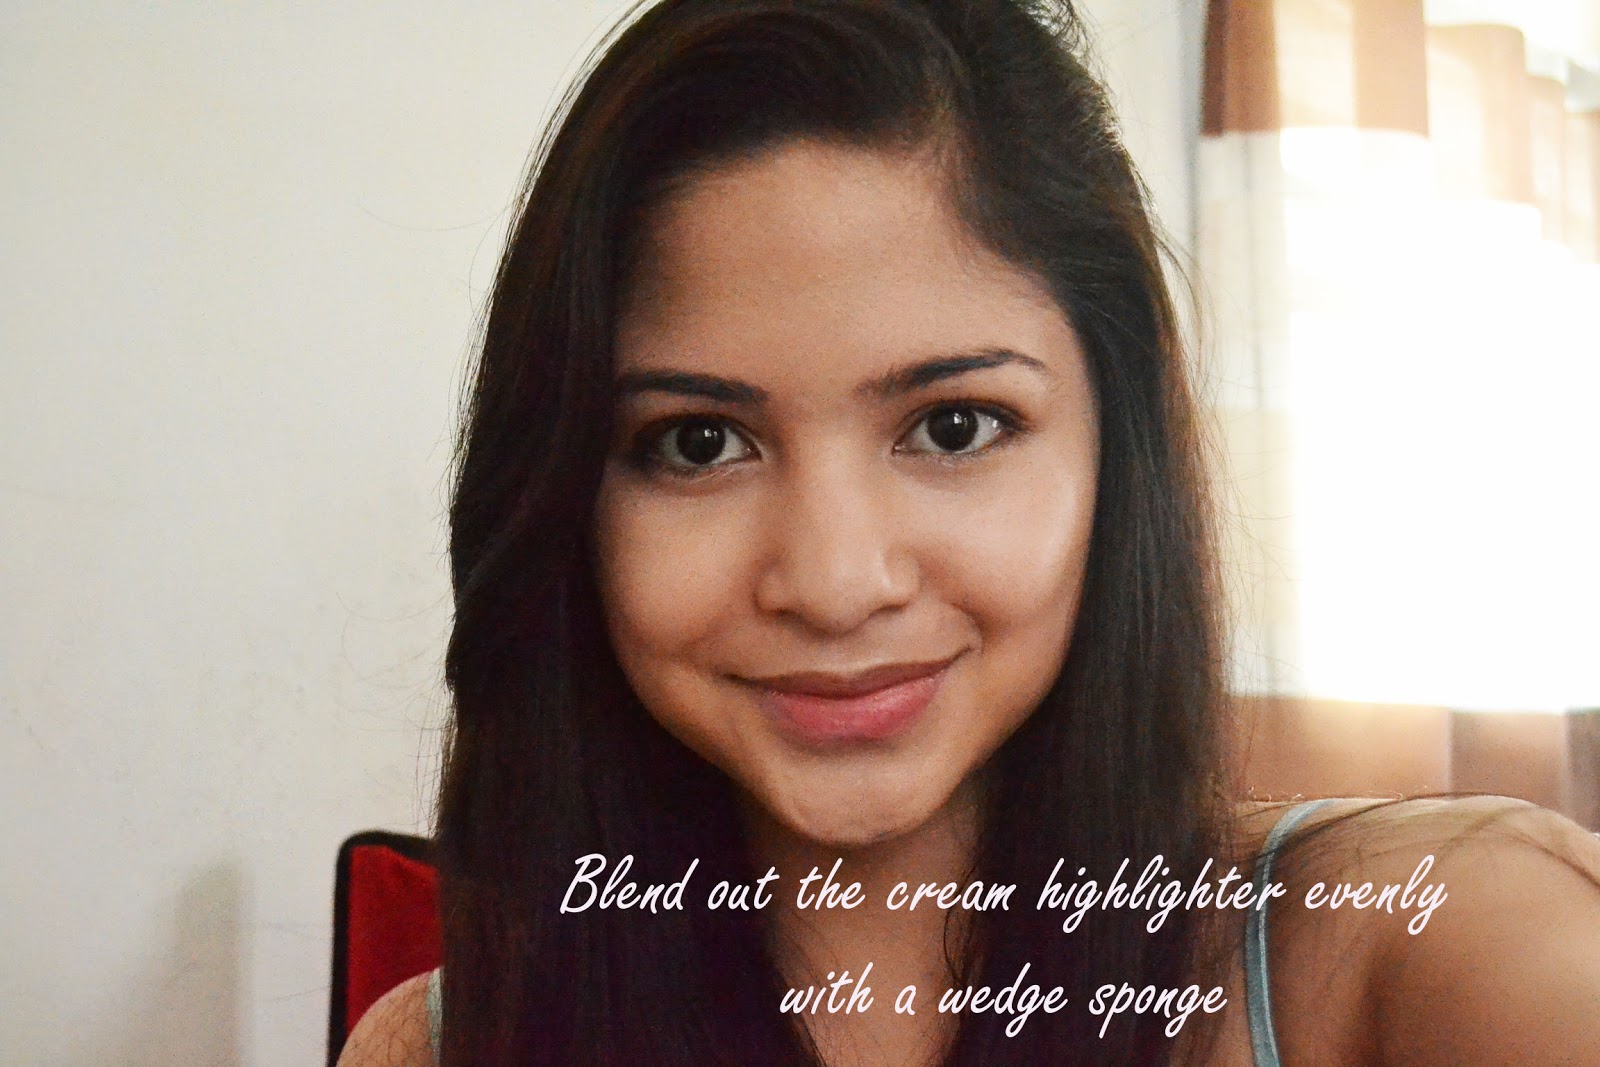
2. Highlight with a cream product. Here's how I did mine:


3. With a matte brown powder, contour your cheekbones, temples, and the sides of the nose to make it look slimmer. Blend everything well to avoid harsh lines.

4. Set with loose powder.

5. Do the eyes:

1. Apply eye primer all over lids
2. Apply the cream highlighter on the browbone
3. Apply matte pale blue shadow on the lids
4. Layer the shimmery pale blue shadow on the lids
1. Apply hot pink eyeshadow on the outer V and on the crease. Using a thin eyeliner brush, apply the same color on the lower lashline as well.
2. Apply the pale pink shimmer shadow on the inner part of the crease. Blend everything well. 
3. To add definition to the eyes, use a brown liquid eyeliner closely on the upper lashline. Don't make the line too thick
4. To make the eyes "pop" and make it look bigger, line your waterline with white eyeliner. Apply shimmery cream product on the tear ducts and inner corner of the eyes as well, then top it off with the pale blue shimmer eyeshadow.


For the finishing touches, fill in your brows, curl lashes and apply mascara, and pop on a thick pair of false eyelashes.

6. But of course, we're not done yet :) With a fluffy blush brush, apply soft pink blush on the apples of your cheeks.

7. Complete the look with a blue-based pink lipstick. I actually couldn't make up my mind at first about what shade I wanted to use for this look (I initially used a lilac pink lipstick) but then I tried it with a vibrant hot pink color and I liked it better. So it's totally up to you what pink suits your fancy :)


Hope you enjoyed this look! Would you wear something like this on a regular day (or probably night)? Or would you save a look like this for a special occasion or Halloween? :)


Saturday, July 28, 2012

Jennifer Lopez-inspired makeup look

In celebration of Jenny from the block's 43rd birthday (which was three days ago), I'm dedicating this post to a look inspired by her. J.Lo always looks so amazing from head to toe, she is actually one of the main reasons why I look forward to watching American Idol! Her hair, makeup, and clothes on the show always look sooo perfect.

One of my favorite J.Lo looks of all time is her sexy, smoldering bronze goddess look. Her tanned glowing skin is just the perfect backdrop for a great smokey eye, strategically plazed bronzer, and pale lips.


Here's my interpretation of the look:


How To:

1. Face Prep (helps makeup last longer)
Celeteque gel moisturizer
L'oreal Base Magique Smoothing Primer

2. Face Products:
Applied Maybelline Aqua Gel Foundation in Sand all over face with foundation brush
Concealed small spots/minor discolorations with Coastal Scents camouflage pallette
Set with L'oreal True Match Super Blendable Powder

3. Eyes:
Prime lids with Etude House Proof 10 Eye Primer
Used Coastal Scents 88 Warm Palette, applied pale gold shadow over entire eye
Used ELF's cream eyeshadow in Olive; used the bronze shade all over lids
From the 88 Warm palette again, used a yellow gold shade over the lids
Matte brown shadow for the outer V and crease of the eye
Lined upper lashes with ELF liquid liner in black
Lined lower lash line with Nichido Eye Pencil in Gold
Applied natural-looking but thick false eyelashes

4. Cheeks
Used a shimmery peach blush from the Coastal Scents 32 Palette

5. Lips
Ever Bilena Matte lipstick in Skin
then topped with a peachy gold lip color from Coastal Scents 32 lip palette

6. Hair
And of course, we can't forget one of the crucial parts of Jennifer's look- sexy, wavy hair! Apply mousse onto hair, place curlers, set with stronghold hairspray. Uncoil curlers after about 25-30 minutes (it's best to set the hair before doing the face so you'll finish everything at the same time) and just finger comb so you won't ruin the curls. 


Did you like the look? What are your other favorite J. Lo looks? :)

Model: JC Ann Sotelo
Photos by: Arvin Tonogbanua
Jason Burgos
Pictures of J.Lo: Google Images

Saturday, July 14, 2012

Coastal Scents 26 Color Shadow Blush Combo Palette review + look

This was part of my Coastal Scents Haul and I must say this is my favorite of the bunch. This has a nice mix of neutrals and earth-toned shades, and a variety of finishes- matte, shimmer, and pearlescent shadows.


Pigmentation: 4/5 The shadows are great, but some blushes need several applications before the colors show up
Texture: 3/5 They apply well, but there are some that aren't easy to blend, especially if you've used primer. There are some shades though, like the gold one at the top, that go on sort of creamy. My only complaint is that some of the powders are too soft, they practically crumble if you're a bit heavy-handed in picking up color from the pan with the brush. I just have to be extra careful to prevent this from happening.
Lasting Power: 5/5 when used with primer (sorry girls haven't tried this yet without the primer)
Fall out: From my experience, no fall outs during application, but some colors tend to leave a mess on the pan when I swipe my brush across it
Where to Get: I got mine off the Coastal Scents website, but if you hate waiting and you want one now na, there are a lot of online shops that sell this palette.

You will like this if:

  • You like neutrals, peaches, corals, and plums
  • You like a variety of finishes
  • You like doing classic makeup looks
  • You want a palette that carries both eyeshadows and blushes
  • You don't mind that it comes in a big container
  • You're on a budget

You won't like this if:

  • You like working with color (this has no blues, greens, or bright colors)
  • You prefer single shadows/duos/trios/quads that come in smaller packaging
  • You want a good highlight shade, which this palette sorely lacks!
  • You can't stand the messy fallouts

For my Eye of the Day, I used 3 colors for the eyes (plum for the outer V and crease, gold and the peachy gold for the lid color and lower lashline) and for my cheeks, the plum blush.


Tuesday, July 10, 2012

June Favorites


So these are my favorites for the month of June. It's a mix of different products for the hair, face, eyes, lips and nails. I've tried all of these already and I love each and every one of them! I'll be doing individual reviews for some of these soon :)

My new favorite hot pink lipstick! 


Face

  •  L'oreal Trumatch Superblendable pressed powder in Shell Beige (Php 450, What the F)
  • Etude House Precious Mineral All Day Strong BB Cream #2 (samples at 3 for Php 100, Miss Loren's shop, Php 798 for the full size, Etude House)

Eyes. I love Wet n Wild products, great quality at super affordable prices.


Hair. Because I'm currently in the process of reviving my dead, frizzy hair.
  • Ahglow Keratin Hair Reconstructor (Php 110, Hortaleza stores)- really great product. Will definitely do a separate post on this one
  • Vitress Hair Polish (Php 29, grocery stores/drugstores)
  • Wide tooth comb (Php 14, random downtown store)- the best type of comb to use on wet hair, because hair is most fragile when wet. This is such a steal at Php14! It costs a bit more in the mall.

Nails

  • Skin Food Nail Vita in Mocha Gold (Php 150, Miss Loren)
  • Skin Food Nail Vita in Iceberry (Php 150, Miss Loren)
  • Random, no brand nail polish in a peachy nude shade (Php 28, Gaisano)

Saturday, May 5, 2012

Mila Kunis-inspired brown smokey eyes

This make up look is inspired by another one of my girl crushes, ze uber-hot and gorgeous Mila Kunis! I loved her as Jackie in that 70's show, and she's great in the silver screen as well, in Black Swan and Friends with Benefits.

Mila has really gorgeous eyes and in most of her make up looks, this is the feature that she plays up. This particular look is inspired by a Cosmo magazine cover she has done last February 2011.


This is a brown smokey eye with mattes and slight shimmers; the entire lid is light-colored and shading/contouring was done only on the outer V and crease.

For my interpretation of this look, I used:

Flesh-toned eyeshadow (matte)
Pale peach shadow (shimmer)
Brown eyeshadow (shimmer)
Dark brown eyeshadow (matte)

ELF liquid liner in black
Etude House Baby Volume false eyelashes
Estee Lauder Magnascopic mascara
Etude House Drawing Eyebrow Pencil in Brown


1. Put concealer all over eye area as base, then apply the peach-colored shadow on lids only (upper lashline to crease)


2. I used an ultra fine liner brush to create a "cat's eye" outline on the outer V with the brown eyeshadow. Shade the crease area also to create depth.

3. Fill in the outer V outline with the dark brown color. Blend as you go along. Don't apply any dark shadows onto the lids


4. At this point, eyes should look a little like this. Don't forget to highlight the browbone with the peach shadow as well :)

5. Fill in and define brows, line upper lashline with black liquid liner, and apply black pencil liner onto the waterline. With the fine liner brush, apply brown eyeshadow onto lower lashline


6. Apply false eyelashes, and mascara onto lower lashes.


That's it! Brown smokey eyes are so versatile, it can go from day to night and shades like these are easy to find (try Elf's eyeshadow quad in Butternut for this look). This would work on a variety of eye shapes too, from deep set to chinita eyes.

I know I don't look like Mila, pero na achieve din ba yung eyes? What other looks would you like to see? :)


Friday, April 27, 2012

Make Up 101: Anatomy of the Eye


Today, I was talking to a friend about make up. She's really attractive with gorgeous facial features, but doesn't wear any make up at all. She gets kind of overwhelmed with all the products and tools and colors but she's interested to learn just the basics. She already has the stuff she needs (for eye make up) but she doesn't know where to start. Our conversation inspired me do a post about "eye anatomy" for make up application, since this is not the first time I hear other people complain that they could never do even the simplest of eye looks.

I've done eye make up tutorials here and I use some "technical" terms like crease, outer V, etc but I never bothered to explain what exactly they mean. So to get you started, here are the basic parts of the eye for make up application:


1. Browbone- the area just below the brows. This is where you highlight with pale/light colored shadows.
2. Lid- the entire fleshy area in between the crease and the upper lashline; usually where you apply your base color
3. Crease- found in between the browbone and the lid, the part of the eye where it "creases". This is where you apply darker shadows to create depth in the eyes
4. Outer V- the outer corner of the eye. Color is applied in a sideways V shape to create an even more dramatic look. Black and other dark colors are best for this part to give the illusion of larger eyes.
5. Inner corner- or tear ducts; white/shimmery colors are best for this area to brighten up the eyes


6. Upper lashline- on the eyelid, where your lashes are. This is the part where you apply liner (all forms) and false eyelashes
7. Lower lashline- on the lower part of the eye, holds your lower lashes. 
8. Waterline- this is actually inside the lower lashline. It's that fleshy, moist inner line leading towards the inner corner. To make eyes look wide awake, try lining this part with a white or flesh-colored pencil. To make eyes look more defined and dramatic, use a black kohl or pencil liner.

Hope this was helpful to all make up newbies out there! :)


Sunday, April 15, 2012

Darks and Pastels: Eye looks

I came up with these eye looks last Holy Week, when I was stuck at home with nothing to do. I initially wanted to try doing one look only, a deep green smokey eye inspired by a Make Up Forever Ad. But when I opened my 88 Original palette I saw all the yummy pastel colors and I just had to do a pastel look too. I was too lazy to do separate looks so I did it like the old times (when I was in grade school haha) and did different looks for each eye.

The first one I'm going to show you is the green smoky eye look. This is the ad that inspired it. I'll probably try to redo the entire look again soon.

My version:


The shades in numbers:
1. Mint green e/s all over eyes as base color, from lashline up to browbone and in the inner corners of the eye
2.Forest green e/s from lashline up to crease
3. Choose a dark green color for the outer V and the crease to contour the socket
4. Use black e/s and blend it in with the dark green to deepen the contour of the eye. Blend out to avoid harsh lines
5. Take a black pencil liner and tightline your eyes. 

The model in the ad is wearing false lashes, but I couldn't find my lash glue that time so I just used mascara.

Where to Wear: since it's a dark, smoky eye, it would be great for parties, special occasions, or nighttime events. But if you're bold and daring enough to wear this during the day, go!! Smoky eyes for day are so ferosh.

 
The second look is all pastel colors, very light, fun and girly:

 
The shades in numbers:

1. Icy blue all over the lid, from lashline to browbone
2. Orchid e/s all over lids, from lower lashline to crease
3. Lavender e/s on outer v of the eye, use this also to contour the eye socket. 
4. Hot pink e/s applied with a slanted brow brush to line the upper and lower lashline only

Where to Wear: great for daytime events/occasions, or for ordinary days when you want to add a pop of color to your face


The two looks on me (sorry if I look like a crazy person, I do not recommend you do it like this going out btw).


Wednesday, December 21, 2011

ELF Brightening Eye Color Quads Review

ELF eye breightening shadow quads make the most perfect travel companions! Bringing huge make up pallettes when travelling can be such a pain (in the shoulder) and you won't even get to use all those colors anyway.


I have tried 3 of their quads- Drama, Ivy, and Pretty in Pink. Since I have different reviews for each of them, I'll discuss them by color.


1. DRAMA- basic smokey eye pallette; with a white shadow, gunmetal gray, black, and silver
The good: Great for nights out, will fit perfectly in a small purse. Blends easily too. Get great smokey eyes in less than 5 minutes with this.
The bad: The gunmetal gray causes a lot of fall out, but that can easily be remedied with some loose powder and a fan brush. Also, the black isn't very pigmented if used just by itself. Try misting your brush with water when using the black shadow.


Left: Drama without primer
Right: Used the black with primer to make the color pop

2. IVY- earth toned greens; contains a light mint green, olive green, forest green and golden brown.
The good: Nice for everyday work/school looks. The darkest color, forest green, is very pigmented. Goes on the eyelids as it looks in the pan. I didn't need to use primer when I used this quad.
The bad: None!
Left: Ivy without primer
Right: Ivy with primer
Pretty much looks the same, right? :)

3. PRETTY IN PINK- contains a white shadow, cotton candy pink, a mauvy pink, and a baby pink
The good: Also works for daily use, very pretty colors
The bad: Not very pigmented. I was very disappointed with this quad. I thought I would be able to easily create a nice Barbie look with it, but the colors don't show up that well unless I use an eyeshadow primer and use a wet brush for application.
Left: Pretty in Pink without primer
Right: Pretty in Pink with Primer

My two cents: Fall outs and poor pigmentation have their solutions, so I will continue purchasing these. The price and the size are winners!

Get them at SM Department Stores and Watson's Outlets at only Php129 per quad.